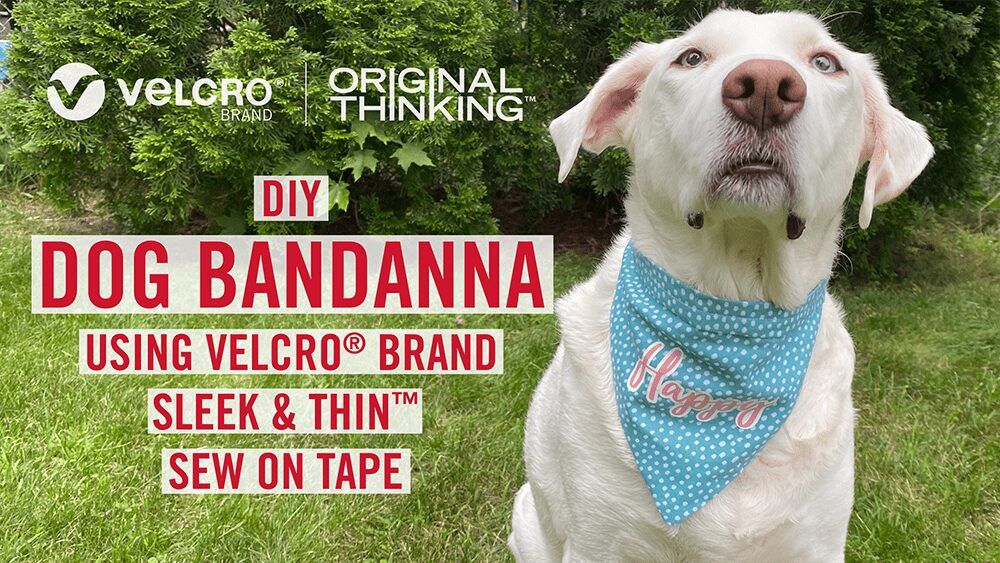
We all know dogs are a human’s best friend, so why not make them something they’ll love? DIY a personalized dog bandanna and have your pet looking his or her summertime best!
In this easy sewing tutorial, we’ll show you how to make a dog bandanna with our VELCRO® Brand Sleek & Thin™ Fasteners
Great for small or large canines or even cats, these dog bandannas can be personalized with a die-cut machine. Match your best friend or let them have their original style. This DIY dog bandanna is perfect for any pet.
How To Make A Dog Bandanna
What You’ll Need:
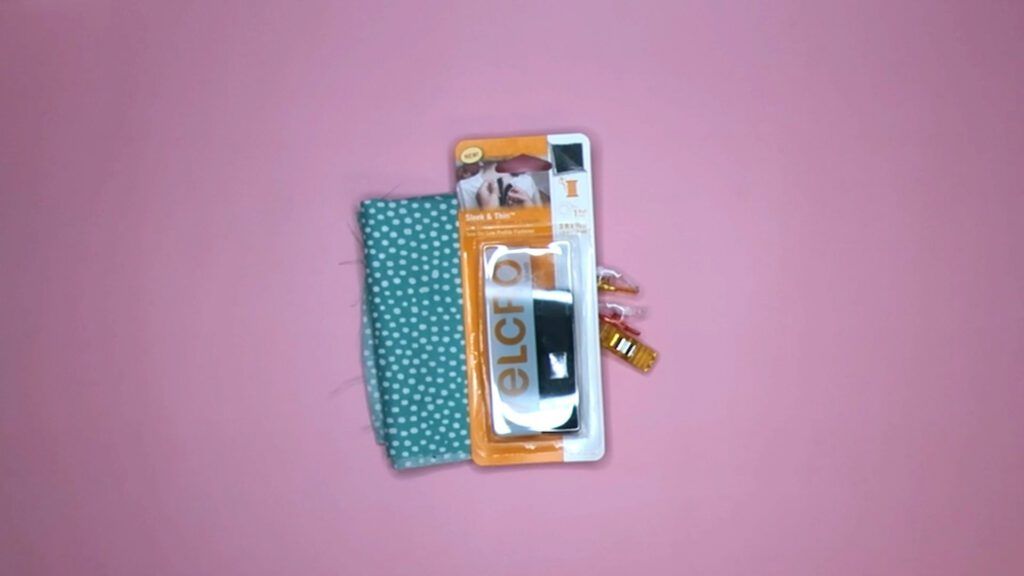
- Piece of cotton fabric (refer to size guide)
- Sewing machine
- VELCRO® Brand Sleek & Thin™ Fasteners
- Die-cutting machine (optional)
- Iron-on vinyl (optional)
- Scissors
Size Chart
| S | M | L | XL | |
| rectangle | 11 in x 2.5 in | 19 in x 2.5 in | 22 in x 2.5 in | 26 in x 2.5 in |
| square | 6 in x 6 in | 9 in x 9 in | 11 in x 11 in | 13 in x 13 in |
Instructions:
- To start, cut your fabric according to the size guide provided above.
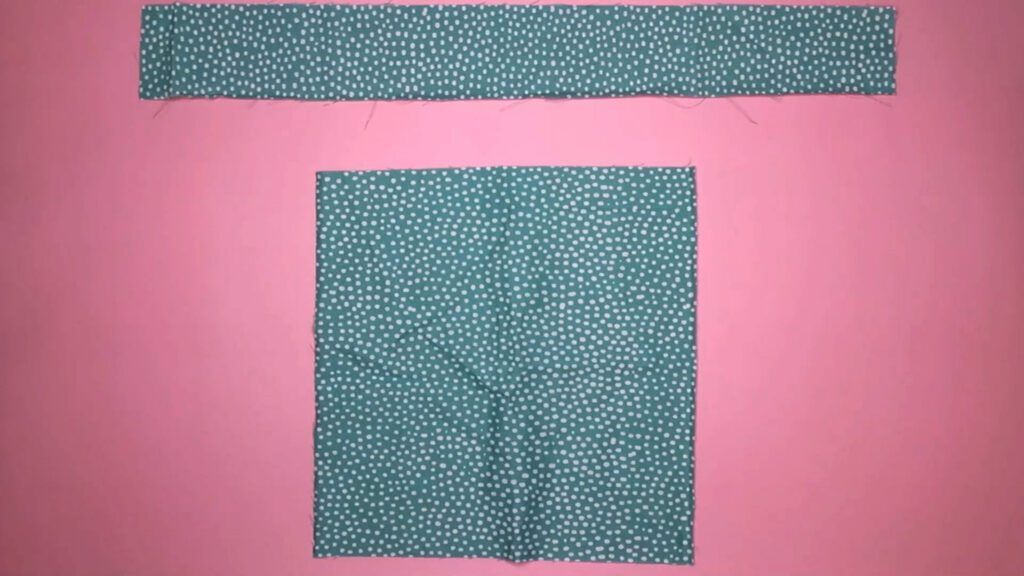
- Fold the rectangle in half width-wise right sides facing and then pin. Sew a straight stitch with a ½” inseam edge to edge. Turn out the rectangle and fold in edges, then press.
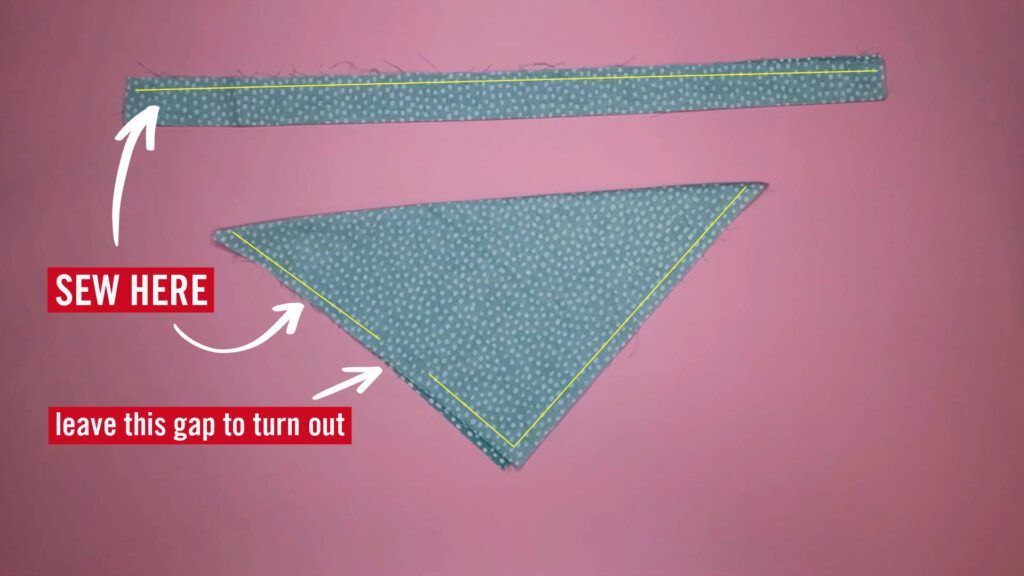
- Fold the square in half diagonally, right sides facing. Next, sew around the raw edges with a ½” inseam, leaving a small gap to turn out.
- Turn out the bandanna, press, and sew up the gap.
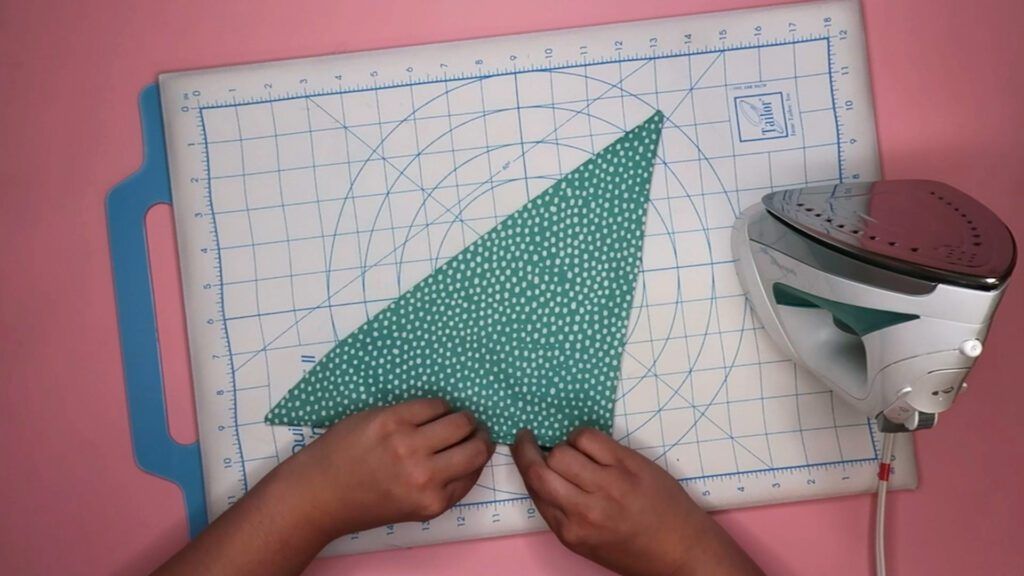
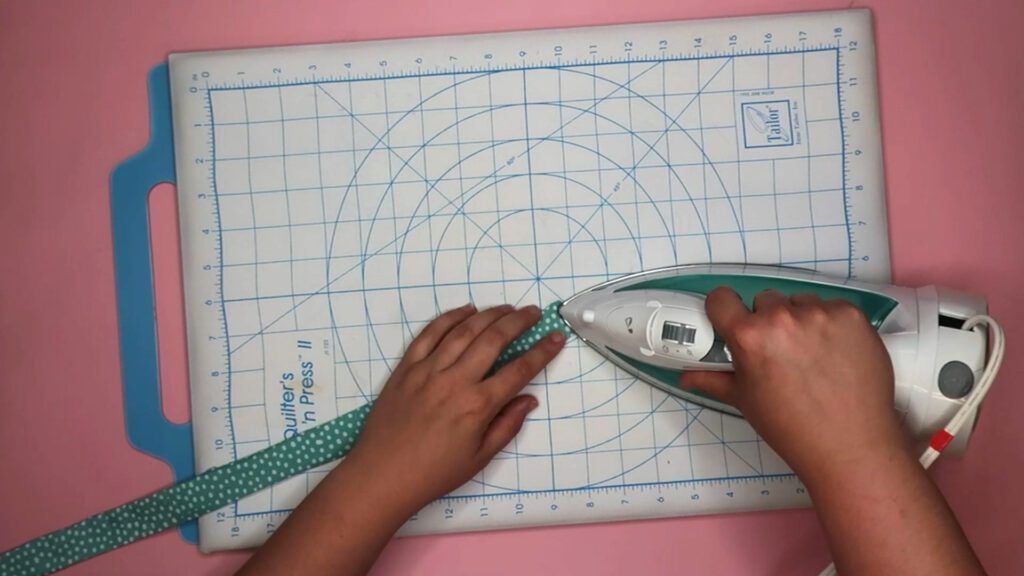
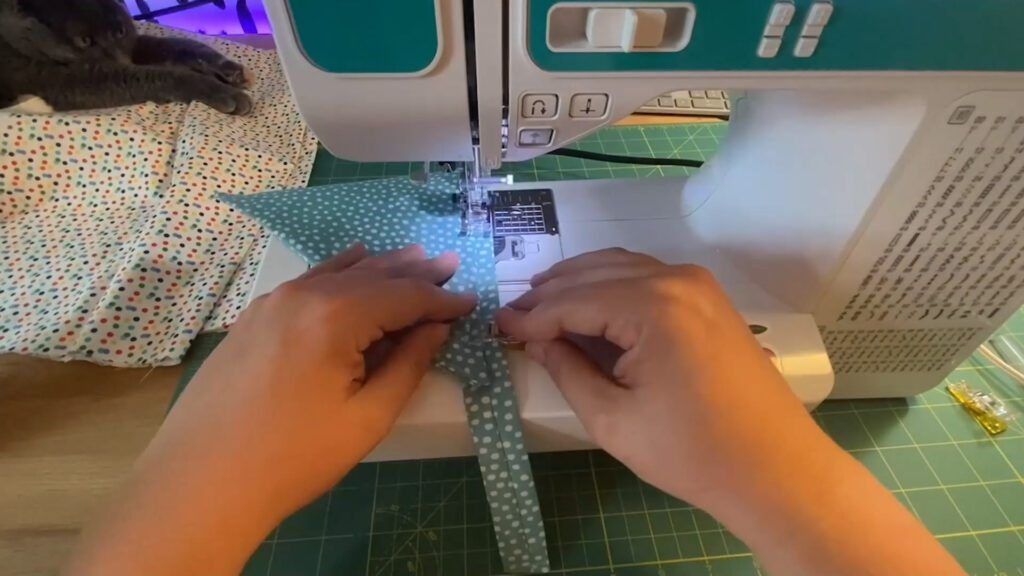
- Overlap the triangle’s long edge with the rectangle piece. Pin or clip in place. Sew a straight stitch to attach the two parts.
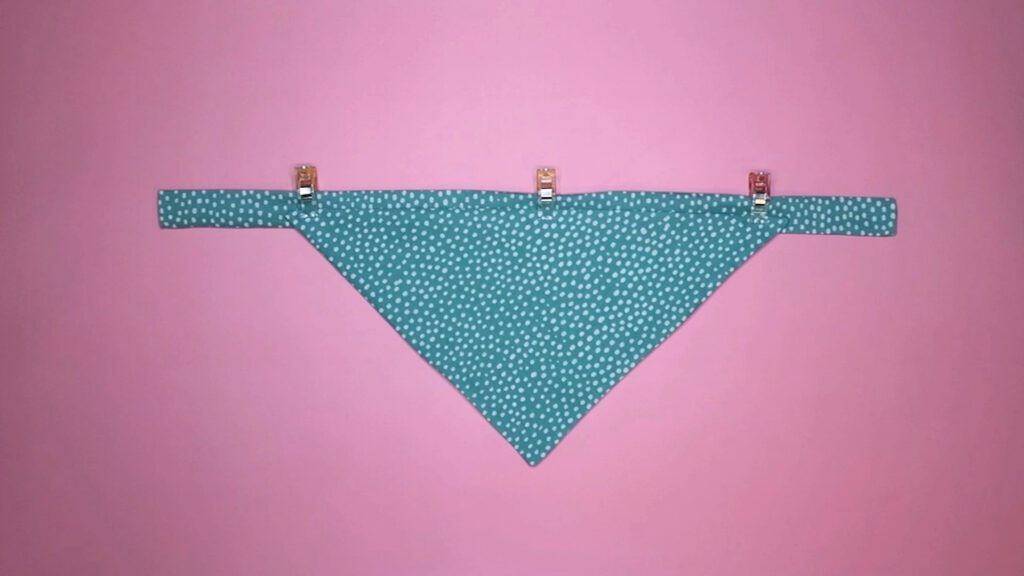
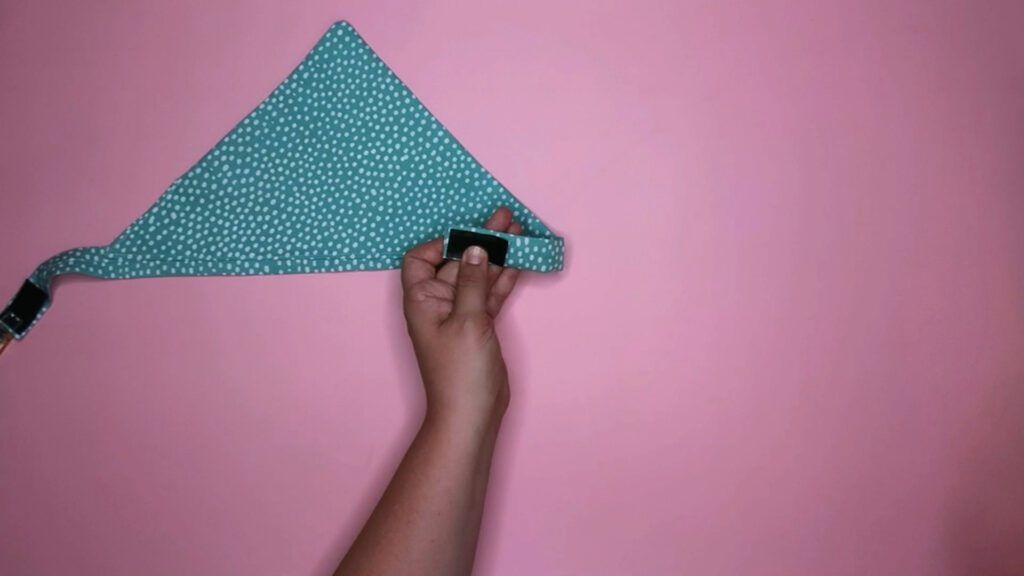
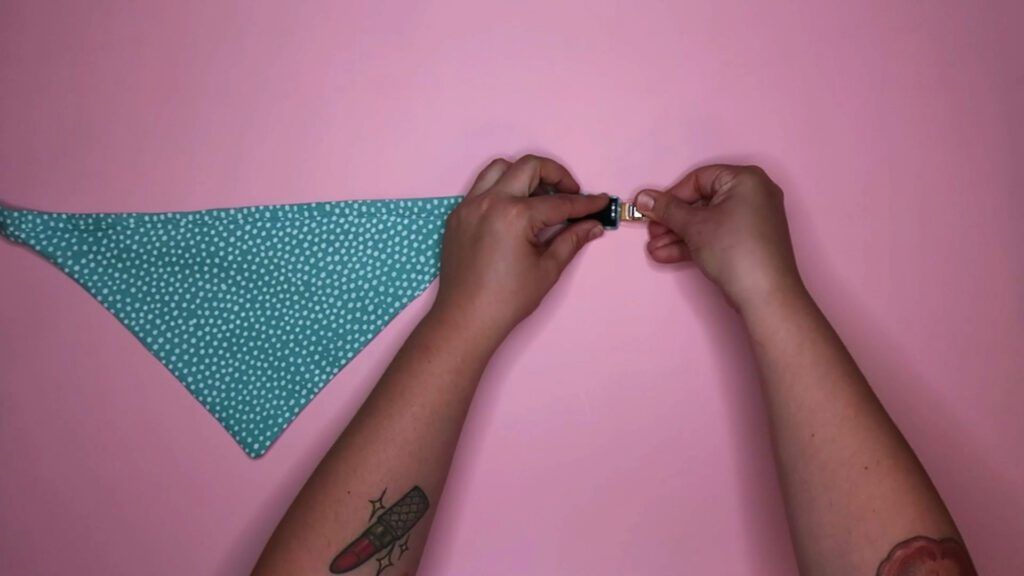
- Attach a 2” piece of VELCRO® Brand Sleek & Thin™ Fastener to one edge of the rectangle. Sew the fastener’s corresponding piece to the opposite side and edge of the rectangle.
- OPTIONAL add your dog’s name to the front of the bandanna, using a die cutting machine and iron-on vinyl.
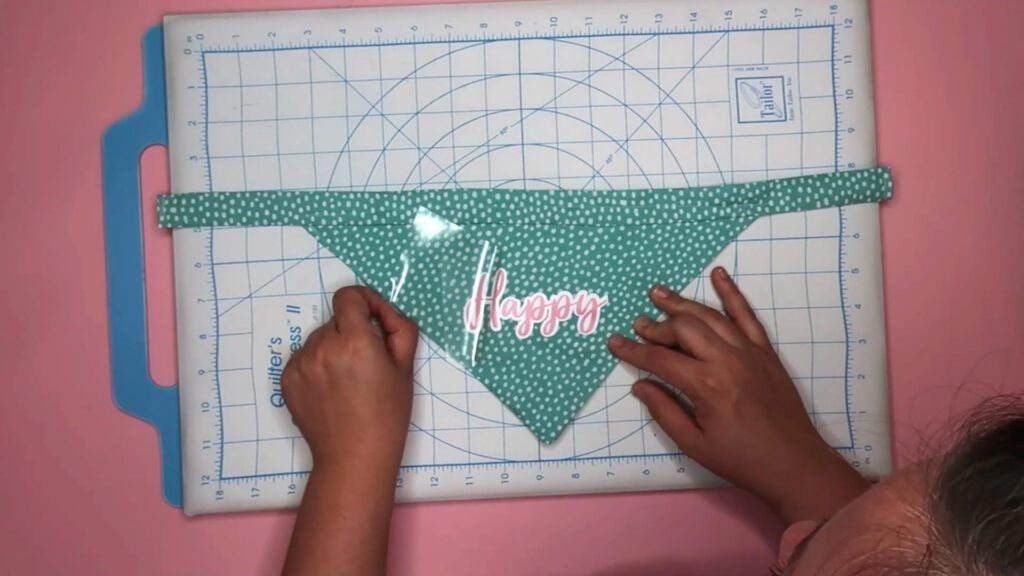
And that’s it! Your pet and their DIY dog bandanna will look spiffy in no time!
Try this craft tutorial for yourself and pick up a pack of VELCRO® Brand Sleek & Thin™ Fasteners. And for other easy projects, stay on our blog!
